Follow the steps below to perform a full test by using the DiCE Test Unit.
-
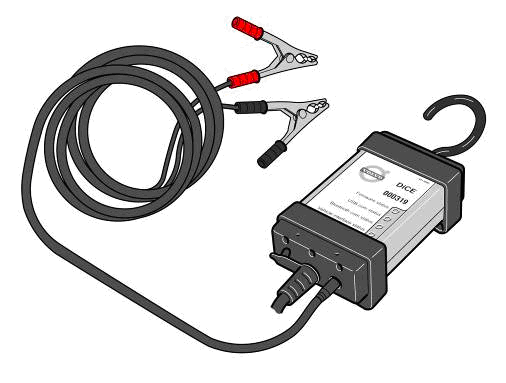
Power up the DiCE by connecting it to a 12 V power supply.
-
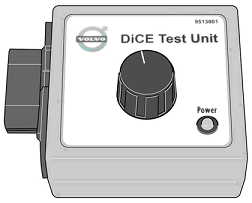
Power up the DiCE Test Unit by connecting it to a 12 V power supply. The power LED should be lit when connected correctly.
-
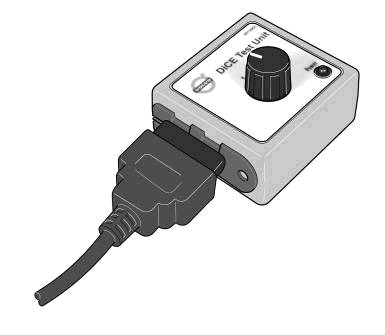
Connect the DiCE to the DiCE Test Unit.
-
Start VIDA.
-
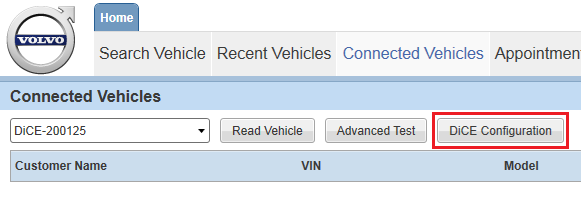
Open the tab.
-
Ensure that the correct DiCE is chosen in the drop-down menu.
-
Click .
-
In the pop-up, select your DiCE unit in the unit drop-down list.
-
Click .
-
Click .
-
Set the DiCE Test Unit switch to position 1. Click .
-
Set the DiCE Test Unit switch to position 2. Click .
-
If this does not work, a message will be shown.
-
Repeat steps 8-13 for DiCE connected via USB as well as Bluetooth.
-
Click in the Test communication tool window.
-
Click in the DiCE Configuration window .
| ð |
The vehicle interface status LED on the the DiCE is now lit (firm red light). |
| ð |
The DiCE Configuration pop-up opens. |
| ð |
|

| ð |
Please check the switch positions and try again. If it still does not work, the DiCE is out of order and has to be replaced. |
| ð |
You have now successfully performed a DiCE full test by using the DiCE Test Unit. |